
6 Food Photography Tips For Savory Social Media Posts

Food and restaurant brands rely heavily on food photography to tell their scrumptious story. If your photo is too dark, blurry or lacking in creativity it will fall flat. Give your followers a true foodie experience with these food photography tips!
Incorporate these food photography best practices for a truly delectable social media feed.
1. Lighting
Lighting is so crucial with food photography. Use natural lighting whenever possible! Be sure to turn off the flash on your phone or camera.

Food Photography Tip 1: Lighting
If you are taking a photo indoors, find a bright window to take your photos near. Avoid or limit harsh shadows by taking photos during overcast conditions.
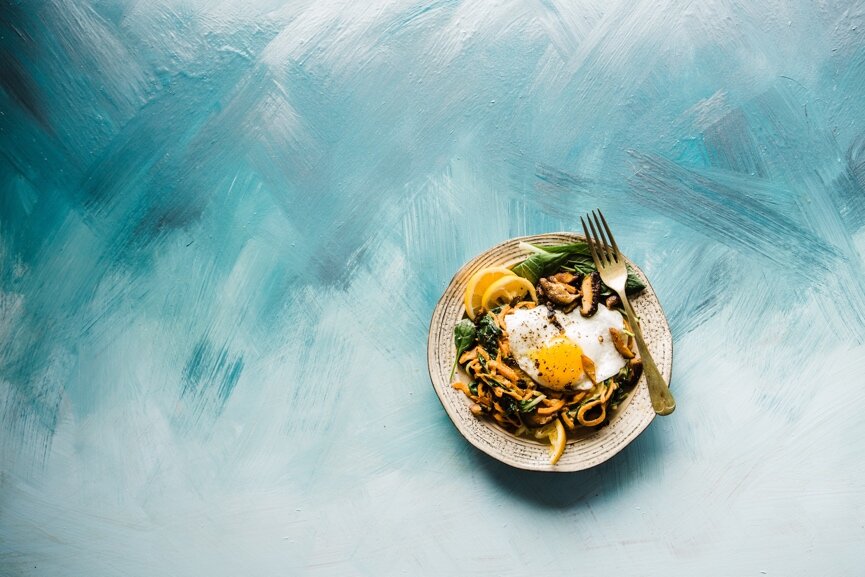
2. Background
Picking the right background is important in setting the scene for your photo. Don’t overwhelm the shot by picking something too loud, instead opt for a neutral background.

Food Photography Tip 2: Background
Play around with light and dark backgrounds to find the combo that highlights your food best. Try different materials like wood, tablecloths, textured walls, chalkboards etc.
3. Accessorize
Sure the food is the star of your photo, but that doesn’t mean you can’t play around with the supporting cast! Dress up any photo just like you would to yourself with a solid outfit…accessorize!

Food Photography Tip 3: Accessorize
Try any of these extras on for size:
• Show a hand holding the food, or using a utensil to eat. You can always add more than one person to the shot.
• Incorporate a waiter serving the food or a chef finishing the food presentation.This is especially good for showing ambiance and professionalism.
• Decorate your scene with utensils, ingredients, foliage or seasonal items like ornaments, hearts etc.
• Choose color schemes with purpose. Make something pop with vibrant contrasting colors, or keep the accessories neutral to focus on your main food item.
4. Spacing
You want your food to look as appetizing as possible, so make sure it is arranged neatly. Give the food space from the accessories and from the camera.
Food Photography Tip 4: Spacing
You don’t have to make the plate fill the shot, people can experience the food even when it is off center and not taking up 100% of the photo.
5. Angles
Just like we all have our best angles and demand a reshoot when taken from the wrong side, your food also deserves to have its diva moment and be shot from its best angle. If you have a garnished plate, bird’s eye is great! Opt for straight on when you want to see all the ingredients in a burger, pizza with stacked toppings, or layered cakes.

Food Photography Tip 5: Angles
Also, don’t forget to pay attention to focus and framing.
Phone tip: Tap on the image to manipulate focus! And do not use zoom, you can always edit a photo later. Which brings us to my next tip…
6. Editing
Once you take your mouth-watering photo, you don’t always stop there. Take advantage of editing apps that can enhance the color and vibrancy of your photo: SnapSeed, VSCO and Afterlight to name a few.
With these food photography tips at your disposal, your social media feed will blow up with engagements!